Background and Goal
In this lab, we learn how to utilize object-based
classification in eCognition. This method of classification is
state-of-the-art, and uses both spectral and spatial information to classify
the land surface features of an image. The first of three steps in this process
is to segment an image into different homogenous clusters (referred to as
objects). This is then followed by selecting training samples to be used in a
nearest neighbor classifier, an algorithm which is then used with the samples
to create a classification output.
Methods
As stated previously, the first step in object-based
classification is to segment the image into different objects. This is done by
incorporating a false color infrared image into a multiresolution segmentation
algorithm within eCognition’s ‘Process Tree’ function. For this classification,
a scale parameter of 10 was used. This determines how detailed or broad the
segments are. After this process is executed, it categorizes the different
features in the image, splitting them as different objects. Figure 1 shows the
different objects that were generated for the Eau Claire area.
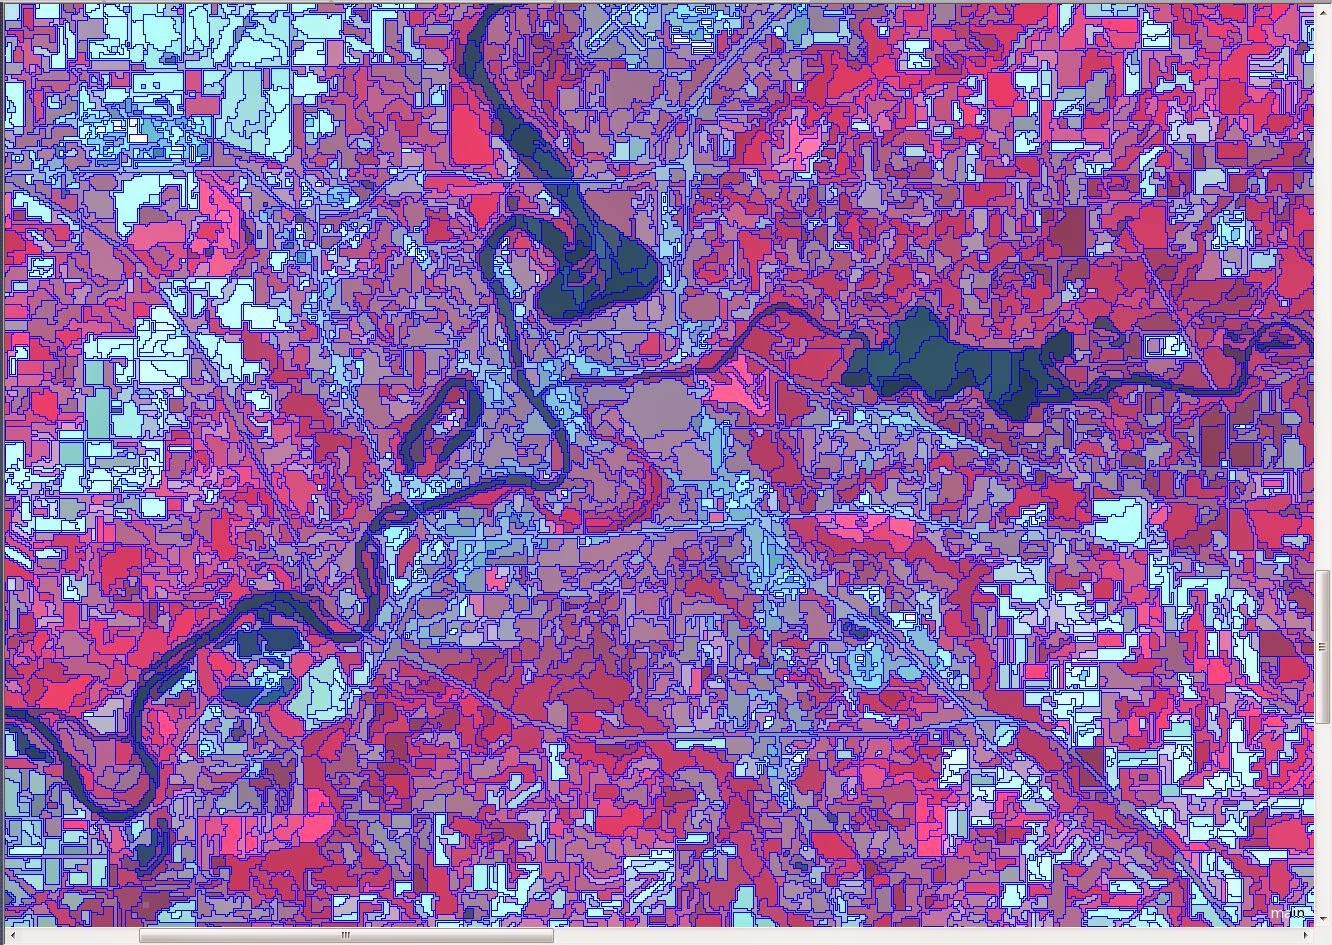 |
| Figure 1: An example of the segmentation that was created to differentiate between the different 'objects' of the image. |
It is then necessary to create classes for the object-based
classification. In the ‘Class Hierarchy’ window of eCognition, five different
classes were inserted. The classes we used were Forest, Agriculture,
Urban/built-up, Water, and Green vegetation/shrub. Each of these classes was
assigned a different color. After this, the nearest neighbor classifier was
applied to the classes, with the mean pixel value selected for the objects’
layer value. This will be the classifying algorithm for the process. Once this
is complete, samples are selected in a much similar way to supervised
classifications. Four objects in each class were selected and used as samples
for the nearest neighbor classification. A new process was then created in the
process tree, and the classification algorithm was assigned. Once this process
was executed, the image becomes classified. It was then necessary to manually
edit the image to change objects that had been falsely classified. The results
were then able to be exported as an ERDAS Imagine Image file, to be further
analyzed in a more familiar program.
Results
Figure 2 shows the result of the classification. This
classification process was fairly simple to use, and produced beautiful
results. Urban/built-up is still slightly under predicted, but overall the
image looks quite accurate.
 |
| Figure 2: The final result of the object-based classification technique. |
Sources
Earth Resources
Observation and Science Center. (2000). [Landsat image of the Eau Claire and
Chippewa Counties]. United States
Geological Survey. Obtained from http://glovis.usgs.gov/
No comments:
Post a Comment